Overview
- This article outlines how to set up the Print Application for Windows and Mac, so you can print labels and documentation directly to your printer.
- NB: The Print Application works for Windows 10 with .NET Framework 4.8 (Included in Windows 10 v1903+) and macOS Big Sur (11.3)+.
Download & install the Print Application for Windows
- Log into DHL Express Commerce.
- Go to Settings, then select Desktop App and click Download Print App (Windows).
- Once the app has downloaded and been installed, run it and login with the same username and password as you use for the web app.
Download & install the Print Application for Mac
- Log into your account.
- Go to Settings, then select Desktop App and click Download Print App for Mac.
- Double-click to open. (If it says there's a developer/certification problem, you might have to control-click it).
- Drag into Applications folder.
- Run the application, and login with the same username and password as you use for the web app.
Configure your print settings
DHL Express Commerce will automatically prompt you to select a printer when you first print a label through the Print Application. If you prefer, you can configure your label and printer mappings in advance. To do this:
- Click Printing in the very top left of the Print Application window.
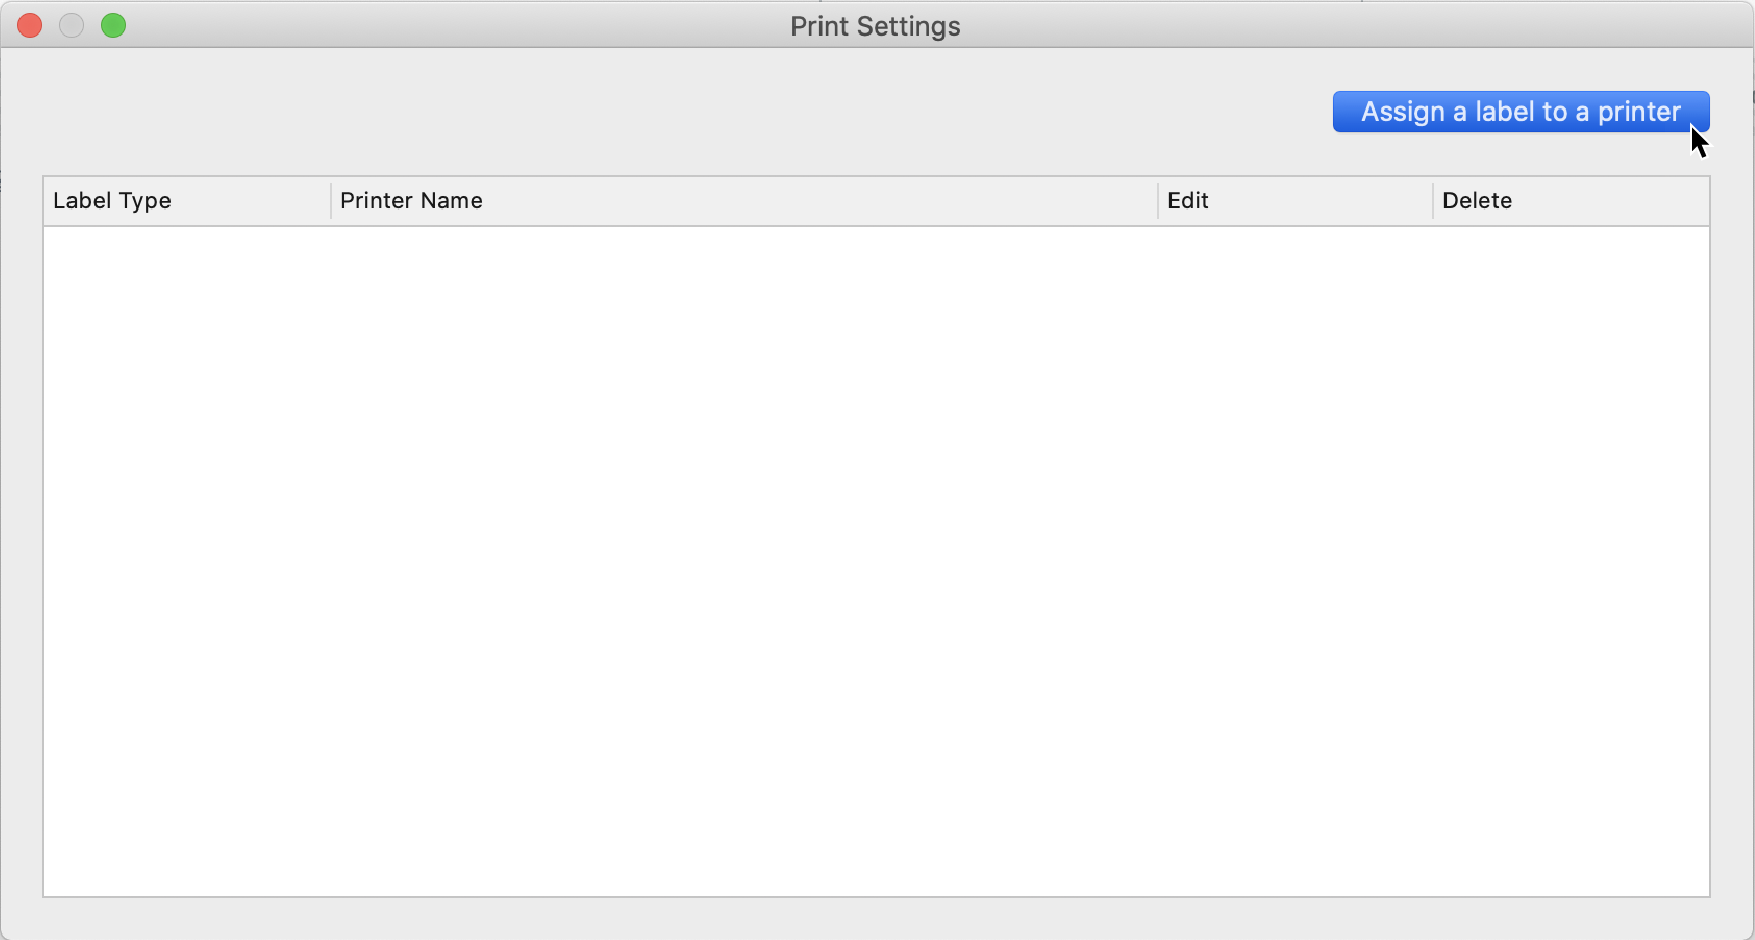
- Select Print Settings.
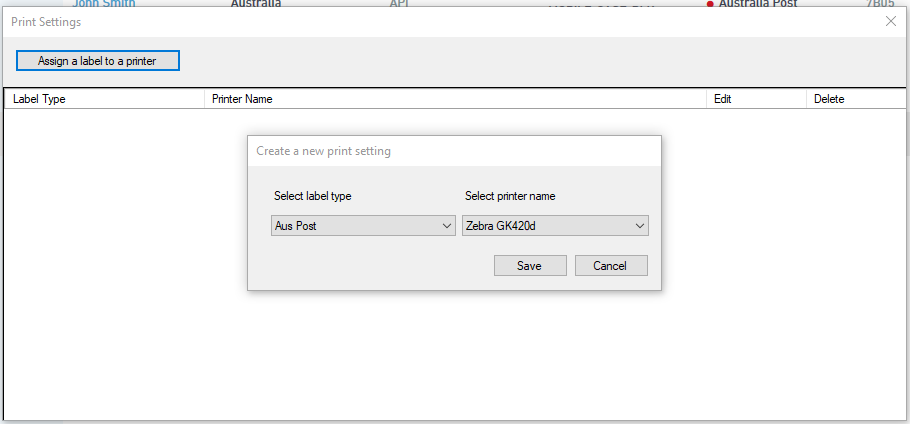
- In the Print Settings window click Assign a label to a printer.
- Select your label type and printer.
- Click Save to add your label type and printer as a new entry.
- Repeat steps 3-5 for each label type and printer you wish to set up.
Edit your print settings:
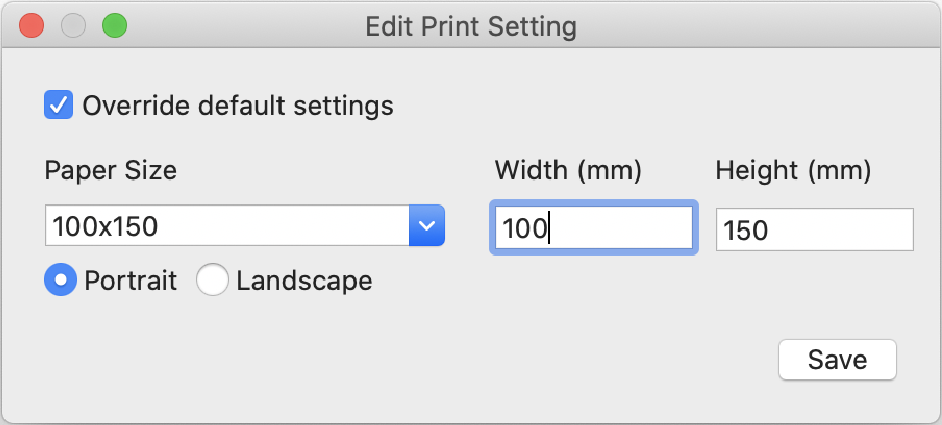
- If you need to modify the label size or orientation for an entry, click Edit to make these changes
- Click Save.
- Close the Print Settings window. You can now start printing.

Auto Printing and saving labels locally (Windows Only)
Configure your computer to streamline label printing upon their arrival, enhancing efficiency and preventing bottlenecks in your workflow.
- From the toolbar in the Print App, select Tools > Auto Print.
- Tick Enable auto print of any unshipped orders.
- Configure how often you'd like DEC to scan and print new orders (1 Minute Minimum).
- Choose whether you'd like to save the label PDF to your computer (and the location) or have the label print automatically to your label printer.
- Select Ignore label and tick "Send the label to the printer using print settings" to automatically print labels via your label printer
Or - Select "Save to folder" to save the labels to a local folder, the label PDF file names will be in the following format "DHL_Label-*OrderNumber"_1.pdf"
- Select Ignore label and tick "Send the label to the printer using print settings" to automatically print labels via your label printer
- Now, each time an order imports to your account, it will be printed automatically.